You may know this as block as a
Liberated Rose, a
Log Cabin Rose or just a
Wonky Rose . . . any and all those adjectives apply. Here are my notes for how I construct this free-pieced block.
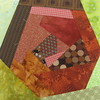
When choosing fabrics for this block, more is more. For the August Block Lotto, the guidelines specify that you must use at least 3 different fabrics for the rose, but no one need stop at three. This is a great opportunity to use small or odd-shaped scraps. I started with a piles of scraps, sorted by color to make rose blocks for a border of a quilt in progress.
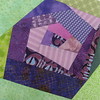
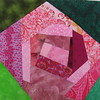
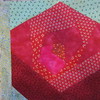
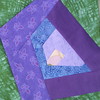
In this block, we are creating an abstraction of a living, growing flower. Although there are exceptions, most real roses grow in colors of closely related shades and my recommendation (a requirement for the Lotto) is that all the fabrics in the flower should be variations of the same color.
Another characteristic of this block is that we're creating the illusion of curved petals around a center, using only straight lines and straight seams. As you make the block, you'll need to play with angles and colors to create a block that says, "rose" when you look at it . . . and not "log cabin."
Making the Block
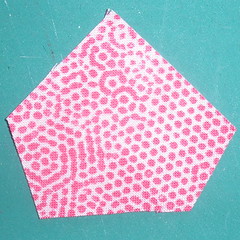
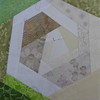
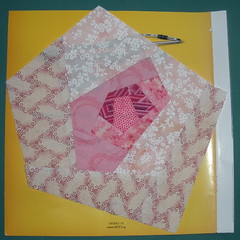
Begin at the center with a non-square. I like triangles and pentagons, though the angles and sides do NOT need to be the same. Four-sided squares and rectangles may exist in nature but rarely in the center of flowers.
If you begin with a 5-sided pentagon-like center, avoid any square cornered "house" shapes.

Add strips in log cabin fashion, by starting on any side, then adding to the next adjacent side, working your way around (which direction doesn't matter–just keep moving around the block in the same direction).
A good reason for add the strips in a consistent way around the block is that it gives you an opportunity to create the illusion of curved petals by using the same fabric on 2-3 adjacent sides ONLY. Few roses look like bullseyes, so avoid using the same fabric all the way around the center.
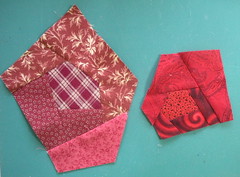
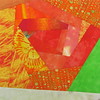
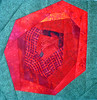
Whatever the shape of your center, after you have added all but the last log on the first round, you can always tell where the next log goes by looking for the side that has 2 seams intersecting it. In the two blocks in progress here, the one on the left was made correctly and you can see that the next log will be added to the lower left side. I lost my way on the block on the right, as evidences by the bottom edge which as three seams intersecting it. Ooops. If you goof, it's not fatal, just pick a direction and carefully add the next round of strips.
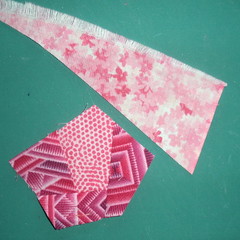
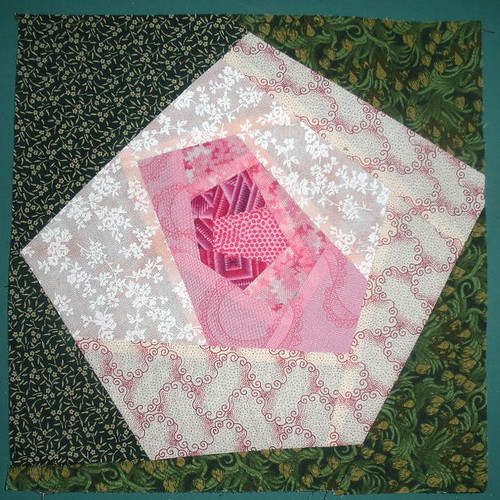
The strips (or logs or petals) that you add do not need to be carefully cut . . . and in fact will look more organic if they are not a consistent width.
Use up your odd-shaped scraps, off cuts. If you add straight (even width) strips, consider trim them at angles after they've been sewn to the block so that your rose block grows in an irregular, organic way.
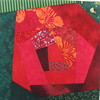
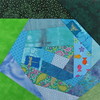
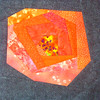
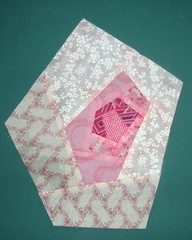
Also feel free to trim the block-in-progress if the shape starts to look wrong to you. I thought the block below was looking too oblong, so I chopped it.

As my blocks grew, I found it useful to have a reference for the target size. These blocks are 9 1/2-inches (to finish at 9 inches). If you have a square ruler that's the size you need, great ... otherwise, a paper template will do. I repurposed the cover of a magazine, trimmed to size.

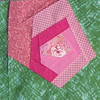
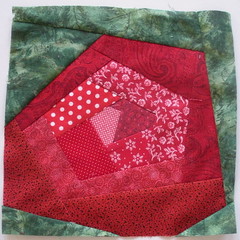
When you decide your rose is finished, lay it on the template to decide on it's orientation and add green fabrics to make the block square. Trim to size and you're done!
Always keep in mind that you can, at any point in the process, re-shape your rose. After I finished the block on the left, I thought it looked too
blocky and so I added some more angles at the bottom and filled the space with green.

Here's 20 of the rose blocks made by
Andi, Caroline, Ginny,
Kate, Kathie, Kim and
Pat.
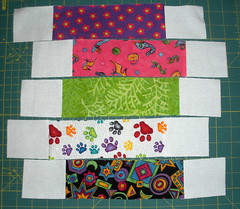
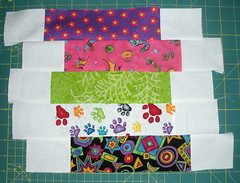
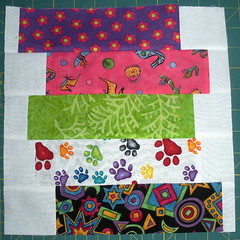
 This 10 inch block (finished size) is my variation on the traditional Chinese coins quilt pattern. Each block is unique as you decide how evenly (or not) you will stack the fabric coins.
 CUT THE FABRICS